Security
Security is a very important feature of LinkedPOS where access to information can be controlled by granting access to specific operations. In order to have better control and making the on-going management of security easier, Role based security is implemented. In Role based security, a Role is created and permissions are granted to the Role. When a user is assigned a role, then permissions of that role are automatically granted to that user. Few Roles are automatically created when LinkedPOS is installed. However new Roles can also be created and existing Roles can be modified.
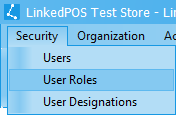
User Roles
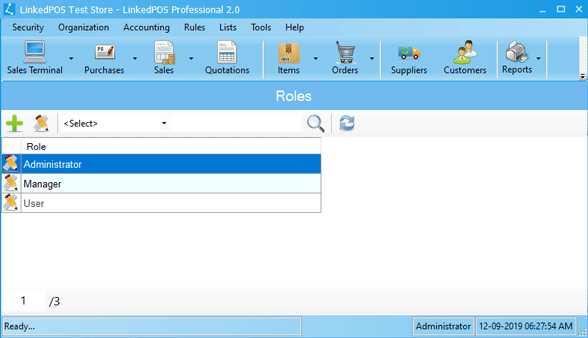
Go to the main menu and click on the dropdown menu of Security and then click on User Roles. The User Roles table will be displayed as shown in the image below:-
Adding a New User Role
On the toolbar of User Roles table, press the
 button
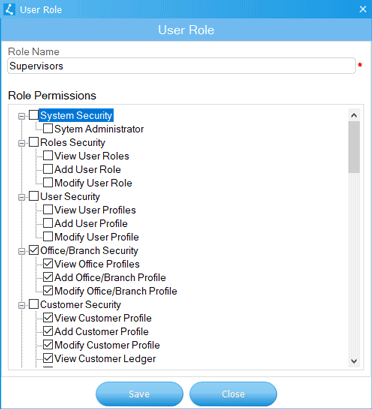
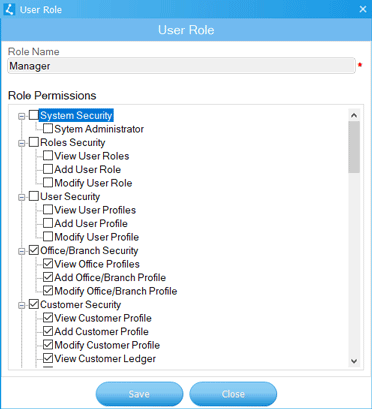
and a dialog will appear as shown in the image below. Type in the Role's Name and it must be unique.
Then, click on the checkboxes against each permission that is required to be granted to this
Role. Finally press the
button
and a dialog will appear as shown in the image below. Type in the Role's Name and it must be unique.
Then, click on the checkboxes against each permission that is required to be granted to this
Role. Finally press the
 button to save the User Role.
Modifying Existing User Roles
Double click on the User Role or click on the User Role in the User Roles table and then press the
 button on the toolbar of the User Roles table. A dialog will appear as shown in the image below.
The name of User Role is read only. Only the permissions can be granted or revoked from
this dialog. When required changes are done then press the
button.
button on the toolbar of the User Roles table. A dialog will appear as shown in the image below.
The name of User Role is read only. Only the permissions can be granted or revoked from
this dialog. When required changes are done then press the
button.
Users
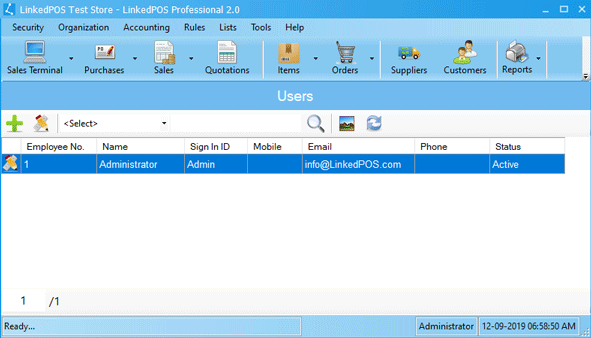
Go to the main menu and click on dropdown menu of Security and then click on Users. The users table will be displayed as shown in the image below:-
Adding New User
On toolbar of the Users table, press the
button
and a dialog will appear as shown in the image below.
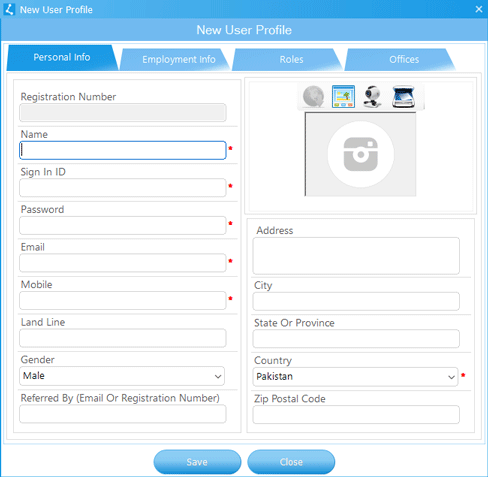
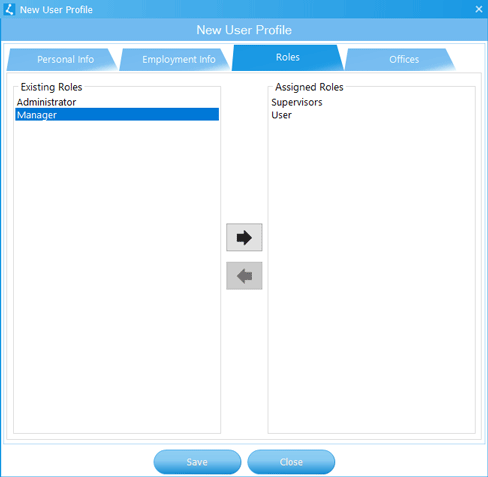
After completing Personal Info, go to theEmployment Info tab and complete the details.
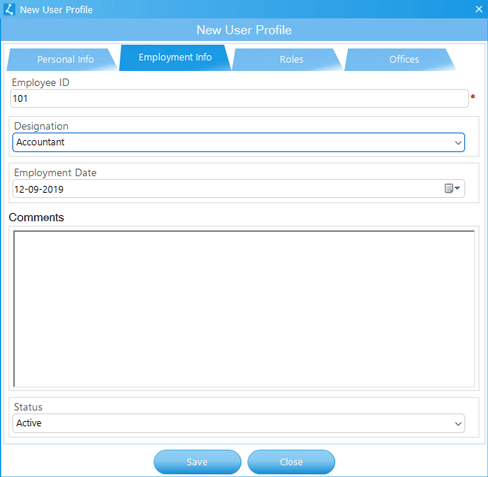
After completing the Employment Info go to the Roles tab. Users role with
very basic permissions is assigned by default. Click on Existing Roles and then press the
 button
to assign the Role to the user. For revoking the Role click on Assigned Roles and then press the
button
to assign the Role to the user. For revoking the Role click on Assigned Roles and then press the
 button.
When all details have been filled, then press the
button
to save the user.
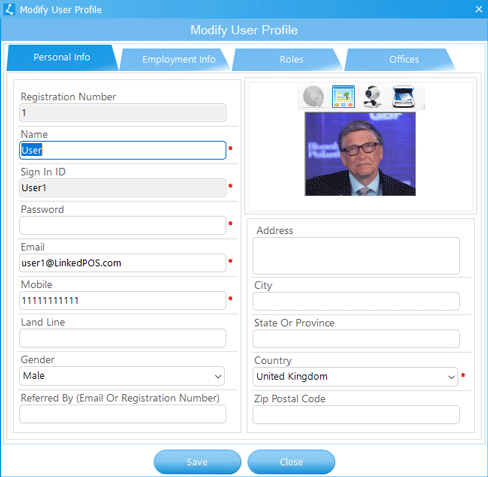
Modifying an Existing User
Double click the User or click on the User in the user's table and then press the
button on toolbar of the users table. A dialog will appear as shown in the image below.
When the required changes are done, then press the
button.